Images in HTML
In this article, we will see about different ways in which we can use images with attributes related to it.
Images in HTML
In this post, we will learn about HTML images, how to add them to HTML, and how to use and implement them using examples.
Earlier versions of websites just had text on them, which gave the impression that they were dull and uninteresting.
Luckily, consumers didn't have to wait long for the option to embed images on websites.
This post will explain many ways to incorporate photographs into a webpage and how to add images that will enhance its aesthetic appeal.
There are 2 ways to insert the images into a webpage:
By providing a full path or address (URL) to access an internet file.
By providing the file path relative to the location of the current web page file.
We will first discuss inserting the image on the webpage, & simultaneously, we will understand both of the above approaches.
Adding images to a webpage
The <img> tag is used to add or embed images on a webpage.
The “img” tag is an empty tag, which means it can contain only a list of attributes and has no closing tag.
The addition of the images improves the quality, along with enhancing the design structure and appearance of the webpage.
Nowadays, a website does not directly add images to a web page, as the images are linked to web pages by using the <img> tag, which holds space for the image.
Syntax:
<img src="url" alt="some_text" width="" height="">
Attributes in IMG tag
src: It is used to specify the path to the image.
alt: It is used to specify an alternate text for the image. It is useful as it informs the user about what the image means, and due to any network issue, if the image cannot be displayed, then this alternate text will be displayed.
crossorigin: It is used to import images from third-party sites that allow cross-origin access to be used with Canvas.
height: It is used to specify the height of the image.
width: It is used to specify the width of the image.
ismap: It is used to specify an image as a server-side image map.
loading: It is used to specify whether a browser should defer the loading of images until some conditions are met or load an image immediately.
longdesc: It is used to specify a URL for a detailed description of an image.
referrerpolicy: It is used to specify which referrer information to use when fetching an image, i.e., no-referrer, no-referrer-when-downgrade, origin, origin-when-cross-origin, unsafe-URL.
sizes: It is used to specify image sizes for different page layouts.
srcset: It is used to specify a list of image files to use in different situations.
usemap: It is used to specify an image as a client-side image map.
src
Source is indicated by the src.
The src attribute, present on all images, instructs the browser on the location of the image to be shown.
The image's URL directs users to the location of the image's storage.
The browser loads the image from a web server and inserts it into the page when it loads for the first time.
Users will see a broken link symbol if the browser does not detect the image.
It is conceivable that the image was removed from that location or that the file path is incorrect.
Example
INPUT:
<!DOCTYPE html>
<html>
<head>
    <title>Welcome To GFG</title>
</head>
<body>
    <h2>GeeksforGeeks</h2>
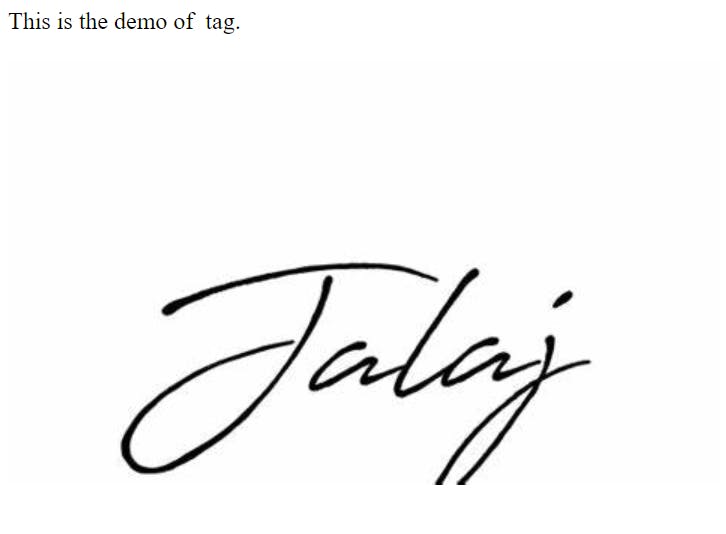
    <p>This is the demo of <img> tag.</p>
    <img src="https://th.bing.com/th/id/OIP.WJRg_aYa6D81C5_Ey4kWpgHaEc?rs=1&pid=ImgDetMain" alt="JALAJ SIGN" />
</body>
</html>
OUTPUT:

alt
An alternative description of the image is provided by the alt attribute in the event that it cannot be displayed.
A user-defined text is what the alt property holds as its value.
Usually, it occurs when the user uses a screen reader or is unable to access it for any reason, such as when there is a problem with the src attribute or the user has a sluggish internet connection.
Example
INPUT:
<!DOCTYPE html>
<html>
<head>
    <title>Welcome To GFG</title>
</head>
<body>
    <h2>GeeksforGeeks</h2>
    <p>This is the demo of <img> tag.</p>
    <img src="https://th.bing.com/th/id/OIP.WJRg_aYa6D81C5_Ey4kWpgHaEc?rs=1&pid=ImgDetMain" alt="JALAJ SIGN" />
</body>
</html>
OUTPUT:
You can try it on VSCODE or any other online platform.
Setting width and height of Image
An image's height and width can be specified using the width and height attributes.
By default, the attribute values are given in pixels.
The attributes width and height are always specified in pixels.
Example
INPUT:
<!DOCTYPE html>
<html>
<head>
    <title>Welcome To GFG</title>
</head>
<body>
    <h2>GeeksforGeeks</h2>
    <p>This is the demo of <img> tag.</p>
    <img src="https://th.bing.com/th/id/OIP.WJRg_aYa6D81C5_Ey4kWpgHaEc?rs=1&pid=ImgDetMain" alt="JALAJ SIGN" width="300"
         height="300" >
</body>
</html>
OUTPUT:

Adding titles to Image
To offer more information about the inserted image, titles can be added to the photographs in addition to the images themselves.
The title attribute is utilized in order to insert a title. For more information, please see the HTML | title attribute article.
Example
INPUT:
<!DOCTYPE html>
<html>
<head>
    <title>Welcome To GFG</title>
</head>
<body>
    <h2>GeeksforGeeks</h2>
    <p>This is the demo of <img> tag.</p>
    <img src="https://th.bing.com/th/id/OIP.WJRg_aYa6D81C5_Ey4kWpgHaEc?rs=1&pid=ImgDetMain" alt="JALAJ SIGN" width="300"
         height="300" title="JALAJ SING" />
</body>
</html>
OUTPUT:

Setting style to the Image
In this example, we are using the border property to decorate the image.
By default, every picture has a border around it.
By using the border attribute, the thickness of the border can be changed.
A thickness of “0” means that there will be no border around the picture.
Example
INPUT:
<!DOCTYPE html>
<html>
<head>
    <title>Welcome To GFG</title>
</head>
<body>
    <h2>GeeksforGeeks</h2>
    <p>This is the demo of <img> tag.</p>
    <img src="https://th.bing.com/th/id/OIP.WJRg_aYa6D81C5_Ey4kWpgHaEc?rs=1&pid=ImgDetMain" alt="JALAJ SIGN" width="300"
         height="300" title="JALAJ SING" border="5"/>
</body>
</html>
OUTPUT:

Aligning an Image
- By default, an image is aligned on the left side of the page, but it can be aligned to the centre or right using the align attribute.
Example
INPUT:
<!DOCTYPE html>
<html>
<head>
    <title>Welcome To GFG</title>
</head>
<body>
    <h2>GeeksforGeeks</h2>
    <p>This is the demo of <img> tag.</p>
    <img src="https://th.bing.com/th/id/OIP.WJRg_aYa6D81C5_Ey4kWpgHaEc?rs=1&pid=ImgDetMain" alt="JALAJ SIGN" width="300"
         align="right"/>
</body>
</html>
OUTPUT:

Adding Image as a Link
If a picture has an embedded URL, it can function as a link.
Using the "img" element inside of an "a" tag will accomplish this.
To render the image on the webpage, we must provide the file location.
When linking external resources like pictures, movies, style sheets, JavaScript, displaying other web pages, etc., file paths are utilized.
A file's source must be known in order to be inserted onto a web page.
File paths are of two types:
Absolute File Paths: It always contains the root element along with the complete directory list required to locate the file.
Relative File Paths: It is the hierarchical path representation that locates the file or folder on a file system, beginning from the current directory.
Example
INPUT:
<!DOCTYPE html>
<html>
<head>
    <title>Adding image as link</title>
</head>
<body>
    <h3>GeekforGeeks</h3>
    <p>inserted image using <img> tag:</p>
    <a href="https://jalajportfolio.netlify.app/">
    <img src="https://th.bing.com/th/id/OIP.WJRg_aYa6D81C5_Ey4kWpgHaEc?rs=1&pid=ImgDetMain"
        alt="JALAJ SIGN" />
    </a>
</body>
</html>
OUTPUT:
You can try it on VSCODE or any other online platform.
